Learning to edit videos can feel daunting, but it doesn’t have to be. The good news is, with a few foundational principles and some practical tips, you can start making your videos look polished and professional without needing years of experience. This guide will walk you through 10 essential beginner tips to get you started on the right foot, helping you transform raw footage into compelling stories.
Before you even touch your footage, setting up your workspace and choosing the right tools are important first steps.
Choosing Your Editing Software
There’s a wide range of video editing software available, from free options to industry-standard programs. The “best” one depends on your budget, operating system, and what you plan to do with your videos.
- Free Options: DaVinci Resolve (free version), CapCut, HitFilm Express, or Shotcut are excellent starting points. They offer robust features without costing a dime, allowing you to learn the basics without commitment.
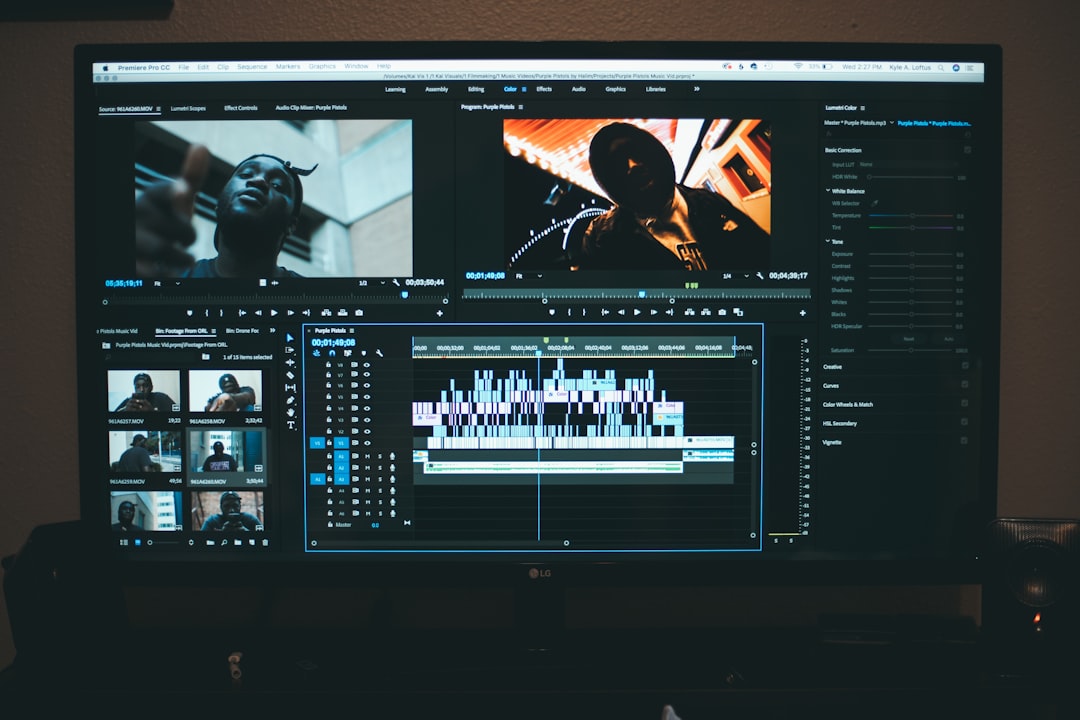
- Paid Options: Adobe Premiere Pro and Final Cut Pro X are professional-grade tools. They offer more advanced features and are standard in many production environments, but they come with a learning curve and a subscription or one-time purchase fee.
- Mobile Editing Apps: For quick edits on the go, consider apps like Kinemaster or InShot. They are surprisingly powerful for mobile devices.
Don’t overthink this choice. Pick something accessible and start experimenting. You can always switch later if your needs change.
Organizing Your Files
This might sound like a boring step, but trust us, it’s a huge time-saver. Before you import anything into your editing software, create a clear folder structure for your project.
- Project Folder: Create a main folder for your entire video project.
- Footage Folder: Inside your project folder, create a “Footage” or “Raw Footage” folder. Organize your clips by date, camera, or scene.
- Audio Folder: A dedicated folder for music, sound effects, and voice-overs.
- Graphics Folder: For logos, lower thirds, titles, or other visual elements.
- Exports Folder: This is where you’ll save your final edited videos.
A tidy file system prevents headaches and wasted time searching for clips later on.
The Art of the Cut
Editing is fundamentally about cutting, which means deciding what to keep and what to remove. This is where your story begins to take shape.
Mastering Basic Cuts
The most common cut is the “hard cut,” where one clip immediately replaces another. But there are various types of cuts that serve different purposes.
- Jump Cuts: These are cuts within a single continuous shot that skip forward in time. They can be jarring if used incorrectly but effective for emphasizing speed or a quick change of thought. Use them sparingly and with purpose.
- L-Cuts and J-Cuts: These are audio-visual transitions. An L-cut is when the audio from the preceding clip carries over into the next clip, while a J-cut is when the audio from the next clip starts before the visual of that clip appears. They create smoother, more natural transitions between scenes, making conversations flow better.
- Cutaways: A shot that briefly takes the viewer away from the main action or subject to show something else, then returns to the main action. These are useful for hiding jump cuts, providing more information, or showing a reaction.
Don’t be afraid to experiment with these. Each cut has a subtle impact on how your audience perceives your video.
Pacing Your Edits
Pacing refers to the speed at which you cut between shots. It has a direct impact on the mood and energy of your video.
- Fast Pacing: Short clips and quick cuts can create excitement, tension, or urgency. Think action sequences or montages.
- Slow Pacing: Longer takes and slower cuts tend to create a more reflective, calm, or dramatic mood. Documentaries or character-driven scenes often use slower pacing.
Consider the feeling you want to evoke. Do you want your audience to feel energized or thoughtful? Adjust your cuts accordingly.
Sound and Vision: Enhancing Your Video
Visuals are important, but good audio can make or break a video. Don’t neglect these crucial aspects.
Prioritizing Audio Quality
Bad audio is a common issue in beginner videos. Even professional-looking visuals can’t compensate for distorted, muffled, or inconsistent sound.
- Record Clean Audio: Use an external microphone whenever possible. Even a basic lavalier mic is better than your camera’s built-in microphone. Record in quiet environments.
- Remove Background Noise: Most editing software has tools to reduce or eliminate hums, static, or other distracting background noises. Use them judiciously, as overuse can make audio sound unnatural.
- Level Audio Correctly: Ensure your audio levels are consistent throughout your video. Dialogue should be clear and audible, and music or sound effects should complement it without overpowering it. Aim for dialogue peaks around -6dB to -12dB.
- Add Sound Effects: Subtle sound effects (swooshes, clicks, ambient noise) can significantly enhance immersion and realism without being distracting.
Good audio makes your video watchable. Bad audio makes it unwatchable. It’s that simple.
Color Correction and Grading Basics
Color can drastically change the mood and professionalism of your video.
- Color Correction: This is the process of fixing technical issues with your footage’s color. This means adjusting white balance to make whites appear white, correcting exposure (making it brighter or darker), and ensuring skin tones look natural. The goal here is accuracy.
- Color Grading: This is the creative application of color to achieve a specific look or mood. Think of warm, vintage tones contrasting with cool, modern looks. This is where you infuse your video with stylistic flair.
Start with color correction first. Get your footage looking natural, then consider any artistic color grading you want to apply. Most editors have preset “LUTs” (Look-Up Tables) that can give you a starting point for grading.
Storytelling Through Editing
Ultimately, editing is about telling a story effectively. Every cut, every sound, every visual choice should serve your narrative.
The Power of B-Roll
B-roll is supplementary footage that supports your main narrative or A-roll (usually your primary subject speaking). Including B-roll can add visual interest, provide context, and mask jump cuts.
- Cover Jump Cuts: Instead of just cutting directly between speaking segments, insert a relevant shot of something else to cover the cut.
- Illustrate Points: If someone is talking about a product, show visual examples of that product. If they are talking about a concept, show imagery that represents it.
- Add Visual Variety: Long stretches of someone talking can become boring. B-roll keeps the viewer engaged.
Always shoot more B-roll than you think you need. It gives you options in the edit.
Music: Enhancing Emotion
Music is a powerful tool for evoking emotion and guiding your audience’s experience.
- Choose Wisely: Select music that complements the tone and message of your video. Upbeat music for energetic segments, somber for serious moments.
- Licensing is Important: Always use royalty-free or licensed music. Don’t just grab popular songs from the internet; this can lead to copyright strikes and demonetization. Websites like Epidemic Sound, Artlist, or the YouTube Audio Library offer vast selections of royalty-free tracks.
- Mix Levels Carefully: Music should enhance, not distract. Keep its volume lower than your dialogue or main audio, allowing it to provide an emotional backdrop without competing for attention. Fade music in and out smoothly.
Music should feel like a natural part of your video, not just an add-on.
Refinement and Export
You’re almost there! These final steps ensure your video is polished and ready for its audience.
Adding Titles and Graphics
Professional-looking titles and graphics can elevate your video.
- Lower Thirds: These are text overlays at the bottom of the screen, typically used to introduce a speaker, show a location, or provide key information.
- Title Cards: Full-screen titles can convey the video’s title, section breaks, or important messages.
- Branding: If you have a logo, incorporate it subtly at the beginning or end, or as a watermark.
Keep text legible, consistent with your brand, and not overly distracting. Use clean, simple fonts and ensure they are on screen long enough to be read.
The Export Process
Exporting your finished video is the final step. Getting the settings right ensures your video looks its best wherever it’s uploaded.
- Resolution: Match your original footage resolution (e.g., 1080p, 4K). Don’t upscale low-resolution footage to high resolution, as it won’t improve quality.
- Frame Rate: Export at the same frame rate as your source footage (typically 24fps, 25fps, or 30fps).
- Codec and Container: For most online platforms (YouTube, Vimeo), H.264 is a universally accepted and efficient codec. MP4 is the most common container format.
- Bitrate: This determines the quality and file size. Higher bitrate means better quality but larger file size. For YouTube, their recommended bitrates are a good starting point. Don’t go excessively high, as platforms often recompress videos anyway.
Always do a final review of your exported video to check for any glitches, audio issues, or missed edits before sharing it with the world.
Conclusion
By focusing on these 10 essential beginner tips – from organizing your files and mastering basic cuts to prioritizing audio and understanding export settings – you’ll lay a solid foundation for your video editing journey. Remember, practice is key. The more you edit, the better you’ll become at recognizing what works, developing your own style, and telling compelling visual stories. Don’t be afraid to experiment, make mistakes, and learn from every project. Congratulations, you’re on your way to editing like a pro!