Companies looking for a way to make a memorable visual impact at a meeting or event will want to consider making use of projection mapping.
You may have seen photographs of famous buildings lit up at night with beautiful colors, patterns, and images. The effect is almost as if a team of artists covered them with luminous paint. That is projection mapping at work.
This guide will explain to you exactly what projection mapping is, how it works, and how it can benefit your brand when you host or promote an event. We will share some examples with you and go over tips and steps for getting started using this technology in your own events.
What is Projection Mapping?
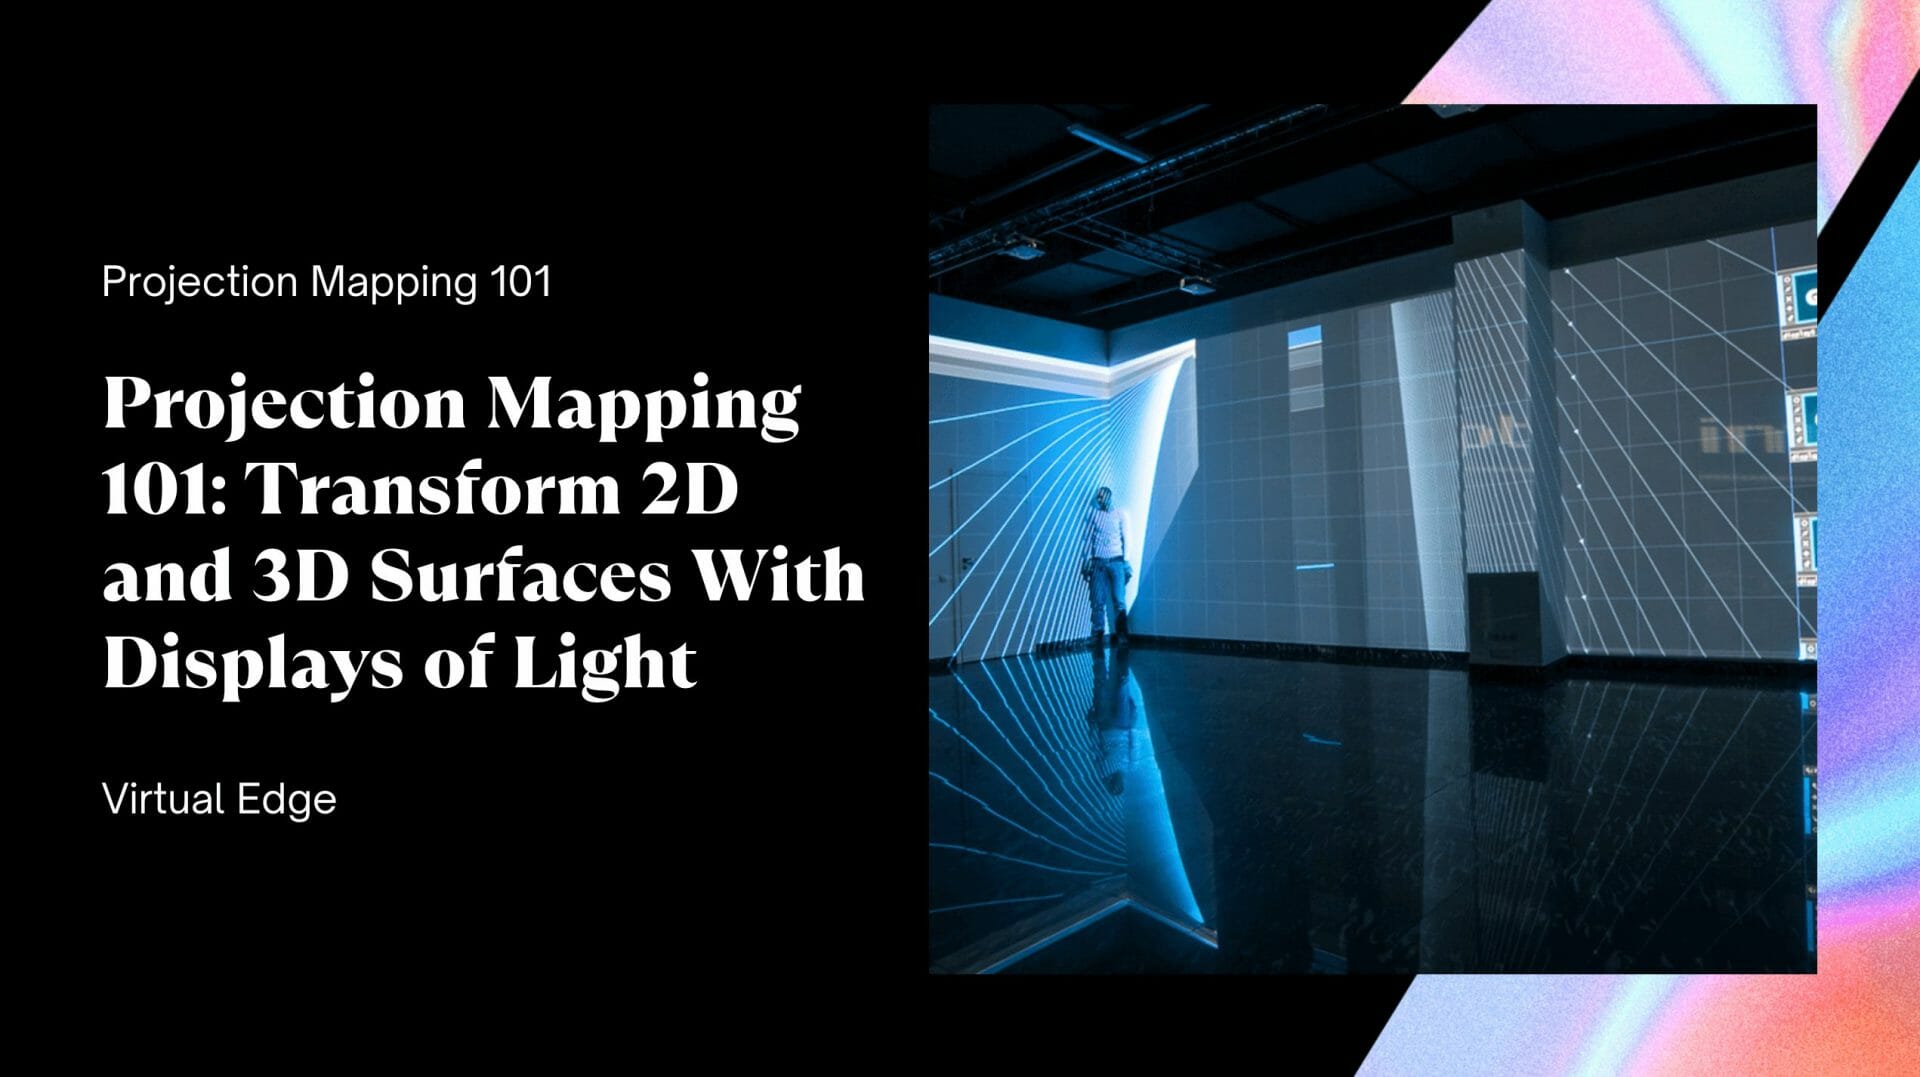
Projection mapping allows you to map an image or video onto a surface. It is a bit like using a traditional projector, except that you are not confined to just projecting an image onto a flat wall. Instead, you can project onto any surface you can imagine, no matter its shape, infusing it with color and bringing it to life.
What are the Benefits of Projection Mapping for Your Brand?
- Make any venue fit your brand and message. Being able to map projections to any interior or exterior surface in any kind of structure really frees you up to be creative and flexible with your choice of venue. In fact, even a venue that would otherwise be a sub-par option may look fantastic after you have used projection mapping to “paint with light” on the walls, floor or ceiling (or all three).
- Transport your audience into a fully immersive world. Large, all-encompassing 3D projections can completely change the nature of a room, turning it into what feels like a completely different type of environment. You can even make an indoor space appear more like an outdoor one.
- Get content ready in a hurry. If you are on a budget or a tight schedule, you may be surprised by how rapidly and affordably you can throw together a spectacular visual presentation. The time and materials required are generally far less extensive than what you would need if you were relying on LED boards or other traditional types of visual displays.
- Generate less waste. You probably invest a lot into your visual displays for expos, meetings, and other events. But once those events are behind you, you might find yourself with a whole pile of props that can offer you no further value. Think how often they just go right into recycling (assuming they are even recyclable). That becomes a problem of the past with projection mapping. If you buy your projection mapping projector, you can use it for all your future events. If you rent the equipment, then you can just rent it again later. If you work with a third party specialist, they bring the equipment.
- Go with 2D or 3D visuals. It is tempting to think that you need to always project onto a fancy 3D surface with projection mapping. But there is no reason you cannot map to a flat surface if you want to. This is generally the most cost-effective choice—and often, the results are still dazzling.
- Show off different product options. You do not just need to use projection mapping for backdrops for presentations or as décor in a room. You can also use it to help your audience to understand more about a product or visualize its potential. You can, for example, project different color or style options onto clothing, automobiles, furnishings, appliances, and other products.
- Delight your audience. Projection mapping has been around for years now (technically, it originated clear back in the 1960s!), but many people have yet to experience it in person. It still feels as fresh and novel today as it did years ago. Prepare to see a lot of wide eyes and open mouths as your audience members express their wonder at your visual magic.
- Draw attention to your event before, during and after. Projection mapping technology can play a part in experiential marketing. Use it to create visual drama leading up to a meeting or to enhance one in progress. You also can capture video and photos to show off later.
Projection Mapping Examples
Now that you know some of the advantages of projection mapping, let’s take a look at a few examples of corporate events where this technology has been put to effective use.
YouTube Brandcast 2017
To bring visual excitement to YouTube Brandcast 2017, Good Sense & Co., Obscura Digital, LA Made Creative, ShowMotion, WorldStage, and the MAS event team worked together to create a large projection mapped display for the stage.
AdobeMax 2016
Another project WorldStage worked on was AdobeMax 2016. Instead of projecting onto a flat or relatively flat surface at the event, WorldStage collaborated with scenic designer Peter Crawford and event producer Pix Productions to create a distinctive faceted surface to use for the event’s presentations.
Neumann&Müller – Breuninger Department Store
In 2013, a Breuninger department store opened in Düsseldorf. Neumann&Müller drew attention to the event by creating a striking visual presentation on the building’s exterior. The structure featured unique architecture with windows that could easily have been a disruption. But through careful design, the team was able to highlight the building’s unique intriguing visual attributes while sending a message.
AV Media Events – Nespresso Table Mapping
In 2019, Nespresso needed an exciting visual presentation fast, and turned to AV Media Events. The company managed to put together a laser projection show mapped to the surface of a long table at the Church of St Giles in collaboration with Nausus. Everyone was delighted, which proves that with the right team on your side, it does not have to take long to produce compelling projection mapped visuals.
AVFX – Seamless Radiology Exhibit AV
AVFX is a company that has produced a number of projection mapping installations for companies at trade shows. The finished projection for the Seamless Radiology Exhibit AV required that the design team create an uninterrupted panorama that would wrap around a surface that featured a combination of angles and curves.
How to Do Projection Mapping
Excited to try projection mapping, but not sure where to begin? Here are the basic steps to bring your vision to life for your next meeting or event.
- Take stock of your projection surface.
Before you even start thinking about what to project, you need to analyze where you will be projecting it. Here are some things to take into account:
- The exact dimensions of every surface as well as the angles between them.
- Where you can set up the projector(s).
- How far away the projector(s) will be from each projection surface.
- Whether surfaces are opaque, translucent, or transparent.
- Where your guest will be in proximity to the projection surfaces.
- How bright or dim the environment is.
You may need technical workarounds for some challenges such as lighting. For others, your choice of content will have an impact on your results.
- Decide what content to project.
Heading into your project, you probably already have a broad idea for the content you wish to feature based on your audience and event goals. But only after you analyze the environment can you really get the details lined up.
For example, if you are projecting onto a building, and the façade features a lot of windows, you will need to either create visuals that work around them, or you will need to consider putting up screens over them to help provide a clear image.
Think about time as well—when will you be displaying your projection? How long will it run? Do you want unique content for every moment? Or is it okay if some of the content loops? For that matter, do you want it all to be video or animation, or do you prefer still images?
- Select your technology, software, and team.
Now you will need to invest in projection mapping software, a projector for projection mapping, and the right personnel for the job.
You can attempt to handle the entire project in-house if you have the people you need to get the job done. But if you do not, you can outsource it to event mapper pros.
While contractors may be an additional expense, consider that you might not have to purchase all the equipment this way. Plus, in the long run, experienced professionals can save you time and money if you do not already have the right staff available under your own roof.
- Create your presentation.
Now, it is time to get the projection presentation ready. This involves using the measurements you took before to map out the projection surface in your software.
If you have a relatively simple surface and just one projector, this process is pretty straightforward. It becomes more challenging with a complex set of surfaces and multiple projectors.
If you find yourself feeling overwhelmed, again, it is best to outsource this part to the professionals.
- Set up your projectors and do a trial run.
Once you have your presentation ready, you are going to want to do a test to make sure that the images and videos are properly mapping to the surfaces. That way, you have time to troubleshoot any issues before you go live.
- It is time for the big event.
Finally, it is time to turn on the projectors at your meeting, event or marketing experience. Enjoy the reactions of your audience, and be sure to capture them to share on social media.
Best Practices for Projection Mapping
Here are a few recommendations for successful projection mapping displays:
- Do your research on any third party you are thinking about hiring to help you out. Make sure they have the equipment, software, and expertise you require. A surprising number of companies that offer projection mapping do not actually specialize in it. If they outsource, it could affect your costs and results.
- If your projection mapping is taking place outdoors, consider how it could impact surrounding businesses or homes before proceeding.
- Do not forget about point of view. During the planning stage, actually stand where your audience will be, and think about what the display will look like from there.
- Think carefully about how you will position your projectors relative to one another as well. Will any of them end up producing unwanted shadows? If so, you may need another positioning solution.
- Be ready with a stabilizing system for your projectors if the wind picks up or if there are vibrations from a railway.
- Going with a small projection mapping display indoors? Set it up where as many people as possible will get a chance to see it.
- Set aside more time than you think you will need for the planning phase. It is vital to get all of the details right before you start creating your content or setting up your projectors. Correcting issues after the fact may be costly, difficult, or impossible.
Tips for Budgeting Projection Mapping
Do you want to save money doing projection mapping? Here are a few quick suggestions:
- Instead of doing projection mapping 3D, consider doing projection mapping 2D.
- Remember that still images are less expensive than video or animation. Loops may also help you stay within your budget.
- Choose flat surfaces if possible, or project on surfaces that are relatively small.
- Lean toward simple visuals. Sometimes, these make the biggest impact. They also tend to cost less to produce.
Summary
Video mapping technology has really taken off over recent years, and for good reason—the benefits of projection mapping are manifold, and investing in good projection can allow you to dramatically transform venues for all types of meetings and events.
Follow the best practices recommended in this post, and work with an experienced creative team on your projection mapping projects. Pretty soon, you will be awing attendees with some of their most memorable event experiences ever.